
Start with the short answer
To update BIOS safely, identify the exact computer or motherboard model, check the BIOS version already installed, and use only the manufacturer support page for that model. Read the release notes before downloading anything. Some updates solve a known security, CPU or memory compatibility issue; others are optional maintenance and may not be worth the risk on a stable system.
The update method depends on the product. A laptop may provide a signed Windows installer or a vendor utility, while a desktop motherboard may offer a built-in UEFI flash tool that reads a file from a USB drive. The names vary—EZ Flash, M-Flash, Q-Flash and similar tools are not interchangeable. The correct model page and manual are more reliable than a generic tutorial.
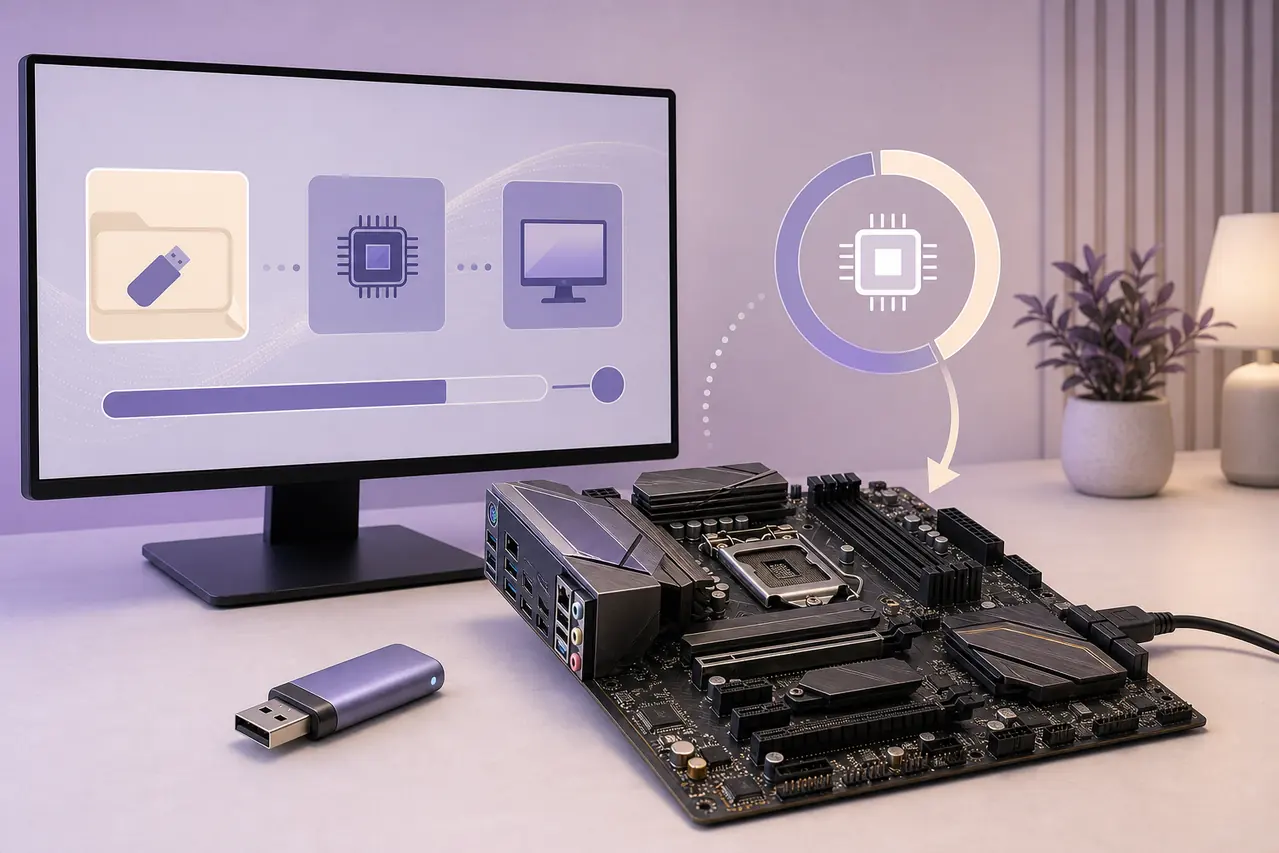
Check the exact model and current BIOS version
Before you search for a BIOS update, record the full model name, motherboard revision, processor platform and current BIOS or UEFI version. A product family can contain several board revisions with different firmware files. On a prebuilt laptop or desktop, the chassis model and serial or service tag may be more useful than a retail motherboard name.
In Windows, System Information can show the system model and BIOS version. You can also enter UEFI from Windows 11 Advanced startup or use the startup key documented by the manufacturer. Compare the result with the support page, including letters, suffixes and revision numbers. Do not rely on a third-party hardware scanner as the final source of truth.
- Exact device or motherboard model
- Board revision or service tag
- Current BIOS/UEFI version and date
- CPU generation and operating system
- Any release-note prerequisite or bridge version
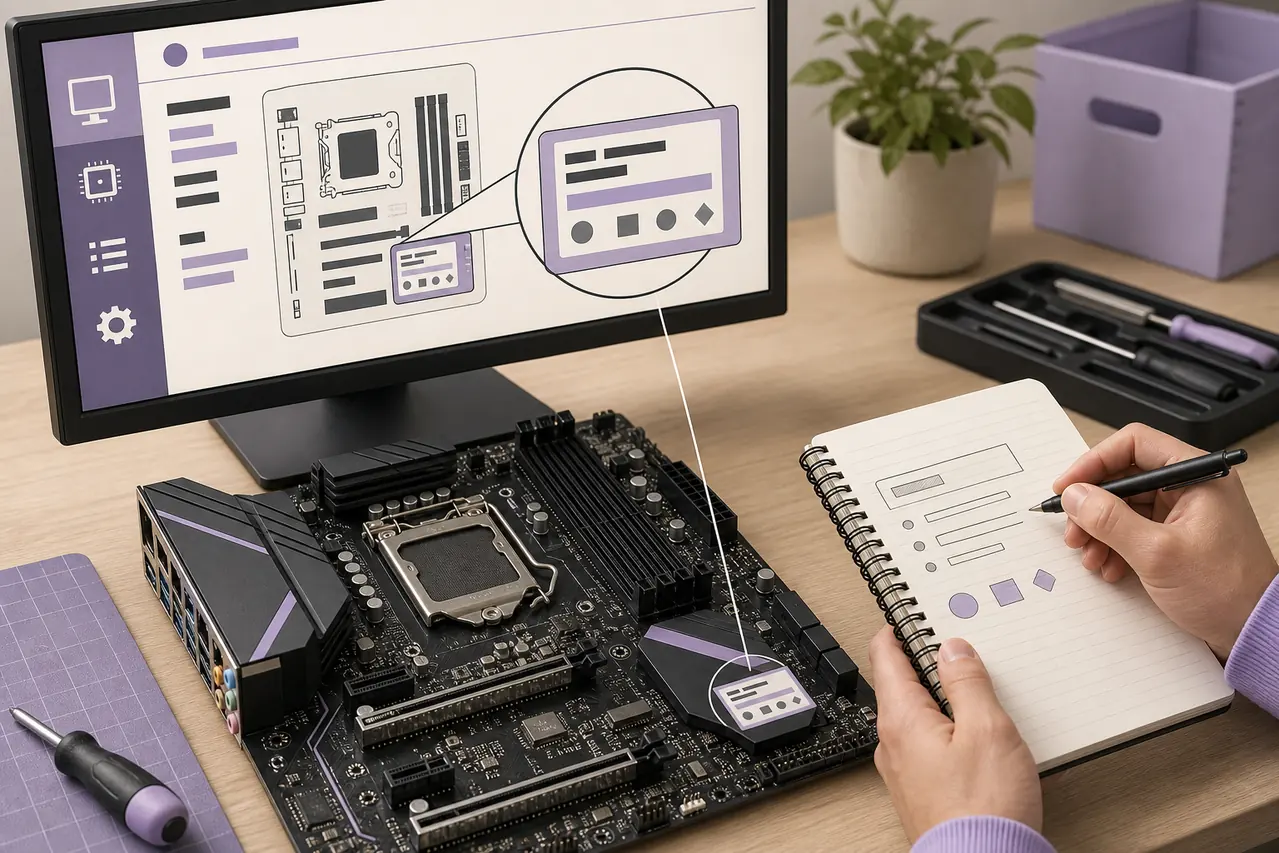
Find the official BIOS firmware package
Open the manufacturer support or download center and search for the exact model you recorded. The safest download target is the model-specific BIOS or firmware tab on that first-party page. Avoid mirror sites, repacked archives and files whose names are only similar to your device. FirmwareDownload.wiki can explain the decision path, but it does not replace the vendor’s model check or redistribute a generic BIOS archive.
Read the release notes for supported operating systems, required intermediate versions, rollback limits, known issues and the intended update method. A newer number is not automatically the right choice if the manufacturer requires an earlier bridge release or if the package is for a different regional or hardware revision. Keep the original support page open while you prepare the update.
- Use the manufacturer’s own support domain
- Match the exact model and hardware revision
- Read prerequisites and release notes
- Prefer a stable release unless a beta is specifically required
- Keep the official manual available offline
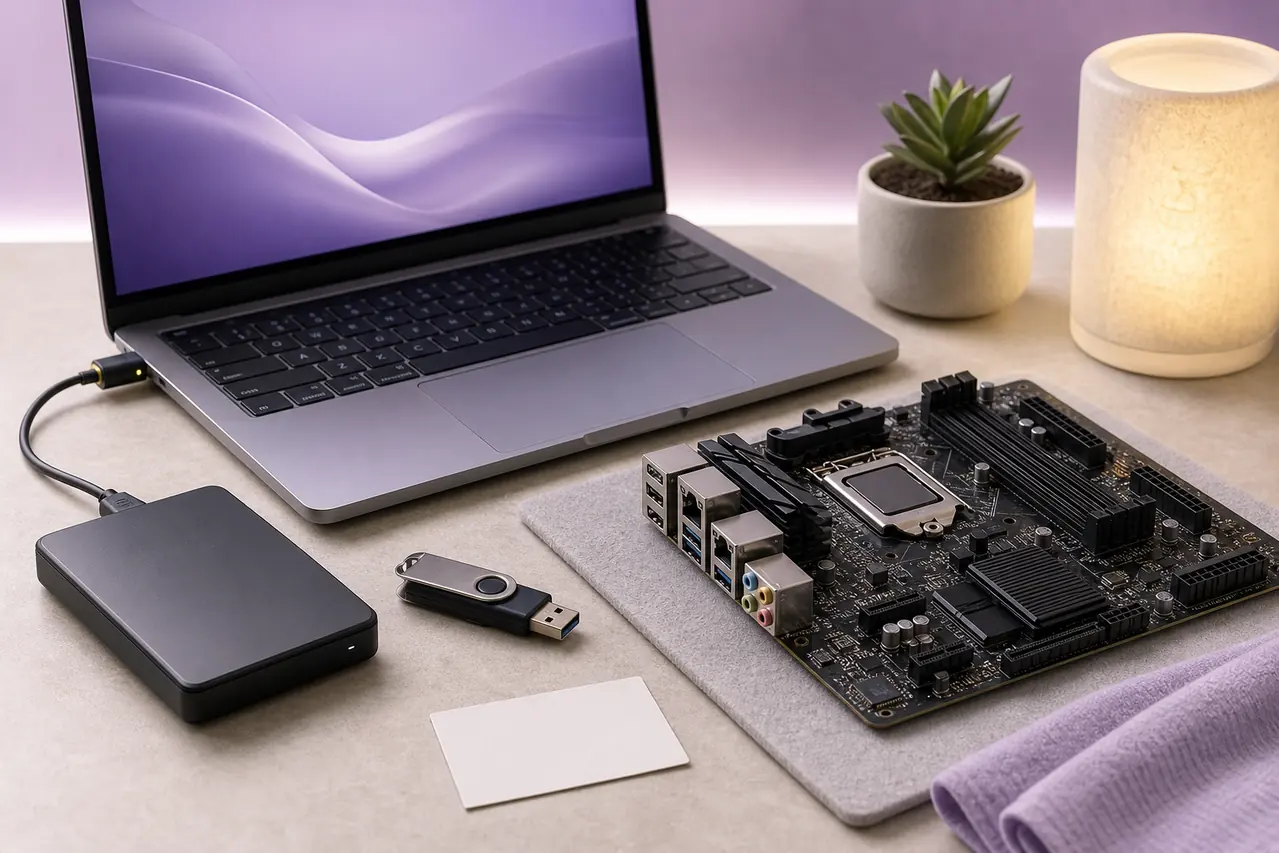
Choose the right update method
Use the method the manufacturer documents for your model. Windows-based installers are convenient on supported laptops and desktops, while a UEFI flash utility can be preferable when the firmware tool is designed to validate the file before writing it. Windows Update may deliver BIOS or UEFI firmware for some OEM systems, but its availability is device-specific and should not be assumed for a custom motherboard.
A USB method normally requires a correctly formatted drive and the extracted firmware file in the location described by the manual. Do not rename a file unless the vendor instructs you to do so. Do not use a motherboard utility from another brand simply because the menu names look familiar.
| Method | Best fit | Main caution |
|---|---|---|
| Vendor Windows utility | Supported laptops and OEM desktops | Use only the model-specific signed package and keep AC power connected. |
| Windows Update | OEM firmware offered as an optional update | Availability depends on the exact device and vendor. |
| UEFI flash tool | Custom motherboards with EZ Flash, M-Flash, Q-Flash or similar | USB format, file name and port rules vary by board. |
| Recovery or FlashBack | Supported recovery cases or boards with a dedicated feature | Follow the manual exactly; recovery support is not universal. |
Prepare Windows 11, backups and BitLocker
Connect a laptop to its AC adapter and use stable power for a desktop. Save work, close heavy applications, disconnect unnecessary peripherals and make sure the machine will not sleep or lose power during the flash. Back up important files before you begin; a BIOS update is not normally a data-wipe operation, but a failed update or a later recovery step can change what happens next.
If Windows device encryption or BitLocker is active, save the recovery key and follow the manufacturer’s instructions about suspending protection before the update. A firmware or boot-setting change can trigger a recovery-key prompt even when the update succeeds. Do not delete encryption or disable security permanently just to make a generic tutorial work; use the least disruptive vendor-supported step and re-enable protection after the reboot.
- AC adapter or stable desktop power
- A verified backup of important files
- BitLocker recovery key stored safely
- A clear path to the official manual
- No forced shutdown, restart or sleep during flashing
How to update BIOS step by step
The labels differ by manufacturer, but the decision sequence is consistent. Stop if the model, version or package does not match. A clean stop before flashing is safer than trying to force a file through a warning screen.
After the update begins, the computer may restart several times, show a blank display for a short period or reset firmware settings. That can be normal for the model, but the manufacturer’s instructions take priority. Do not press the power button simply because the screen is not changing immediately.
- 1
Record the current BIOS version and any custom settings you may need to restore.
- 2
Download the exact official package and read the release notes and manual.
- 3
Prepare the vendor-required Windows utility or USB drive without changing the file name unless instructed.
- 4
Start the documented update tool, confirm the model and target version, and accept the warning only after checking them.
- 5
Leave stable power connected and do not remove the USB drive or interrupt a flashing screen.
- 6
After Windows or the firmware menu returns, verify the new version and restore only the settings you understand.
Check the system after the reboot
Enter UEFI or Windows System Information and confirm that the BIOS version changed to the expected release. Then check the boot mode, storage visibility, fan or memory settings and any custom profile that matters to the machine. A firmware update may return settings to defaults, so a computer that boots successfully can still need a careful configuration review.
If BitLocker was suspended, resume protection and confirm that Windows can unlock normally. Test the specific reason you updated—such as a new CPU, memory compatibility, device detection or a documented security fix—before changing unrelated settings. Keep the old version notes and the official package record in case support asks for them.
If a BIOS update fails
Do not immediately repeat the flash or install a different file. Note the exact message, whether the machine can reach UEFI, whether fans and diagnostic LEDs behave normally, and whether the failure happened before or after the first restart. Recheck the model, revision, file extraction, USB format and required file name against the official manual.
If the computer still starts, use the manufacturer’s documented recovery path. Some boards support a dedicated recovery or FlashBack feature; many do not. If there is no reliable recovery screen, stop repeated power cycling and contact the vendor or a qualified repair service. A generic internet recovery package can turn a recoverable mismatch into a board-level problem.
- Record the error code or diagnostic LED pattern
- Recheck the exact model and board revision
- Use only the official recovery instructions
- Do not downgrade unless the vendor explicitly supports it
- Escalate when the machine cannot reach a documented recovery mode
When you should not update BIOS yet
Do not update just because a newer number exists. If the computer is stable, the release notes do not address your hardware or security concern, and the vendor does not recommend the update, waiting can be reasonable. A BIOS update is a targeted maintenance action, not a general performance button.
Pause when you cannot identify the exact model, the file is from a mirror, the laptop has no reliable power, the recovery key is missing, or you cannot follow the vendor’s prerequisites. Resolve those conditions first. For a business or production machine, test the release on a matching spare system and keep a recovery plan before changing firmware.
Manufacturer paths worth checking
The exact menu and package format depend on the vendor. ASUS documents Windows and EZ Flash routes, Dell documents BIOS/UEFI installation and optional Windows Update delivery for supported systems, HP separates Windows and BIOS-menu procedures, and Lenovo routes the process through its model-specific Driver & Software page. Intel’s general guide is useful for understanding the common sequence, but your product manual remains the final authority.
Use the official reference links below as starting points, then switch to the page for your exact computer or motherboard. This guide intentionally does not list a single ‘latest BIOS’ number because there is no universal BIOS package: every model has its own release history, file size, prerequisites and support status.
How to update BIOS firmware safely FAQ
Should I update BIOS if my PC works normally?
Not automatically. Read the release notes and update when the release addresses your hardware, a documented security issue, compatibility problem or vendor recommendation. A stable system with no relevant change may reasonably wait.
Can I update BIOS from Windows 11?
Sometimes. OEM laptops and desktops may provide a signed Windows installer or firmware through Windows Update. Custom motherboards often use a UEFI flash tool instead. Use only the method documented for your exact model.
Do I need a USB drive to update BIOS?
Not always. Some products update through Windows or a vendor utility; others require a USB drive for the UEFI tool. The manual decides the file system, port, file name and folder location.
What should I do with BitLocker before a BIOS update?
Save the recovery key first and follow the vendor’s instructions about suspending protection. A firmware or boot-setting change can trigger recovery even when the update succeeds. Resume protection and test the next boot afterward.
Can the wrong BIOS file damage a motherboard?
It can prevent the system from starting or require a supported recovery process. Match the exact model and revision, use the official source and stop when the tool reports a mismatch. Do not force a file because the name looks close.
Where can I download a universal BIOS file?
There is no safe universal BIOS file. Download firmware only from the support page for the exact laptop, desktop or motherboard model. This guide links to official vendor instructions rather than hosting a generic archive.
Official vendor references
These pages were checked on August 1, 2026. They explain model-specific BIOS or UEFI procedures; they do not represent one universal package or a permanent latest-version claim.
- Intel — How to Update BIOS General guidance for entering BIOS, finding the product support page and preparing a USB-based update when the product requires it.
- ASUS — BIOS update in Windows Official Windows, MyASUS and model-dependent BIOS update paths.
- ASUS — EZ Flash and firmware update Official UEFI/USB-oriented instructions for supported ASUS products.
- Dell — BIOS/UEFI installation and update Model-specific Dell BIOS/UEFI checks and supported Windows Update options.
- Lenovo — Update system BIOS Model-specific Driver & Software route for Lenovo BIOS updates.
- Microsoft — BitLocker recovery planning Reference for keeping recovery information available when firmware or boot changes can trigger BitLocker recovery.